How to Set and Update Availability (Providers and Clients)
Last updated: August 26, 2026
Availability tells Alpaca when a provider can work and when a client is free for sessions, so schedulers are only offered times that actually fit. This guide covers three things: how the unavailable-hours overlay works on the schedule, how to set your own provider availability, and how to set a client's availability.
How availability shows up on the calendar
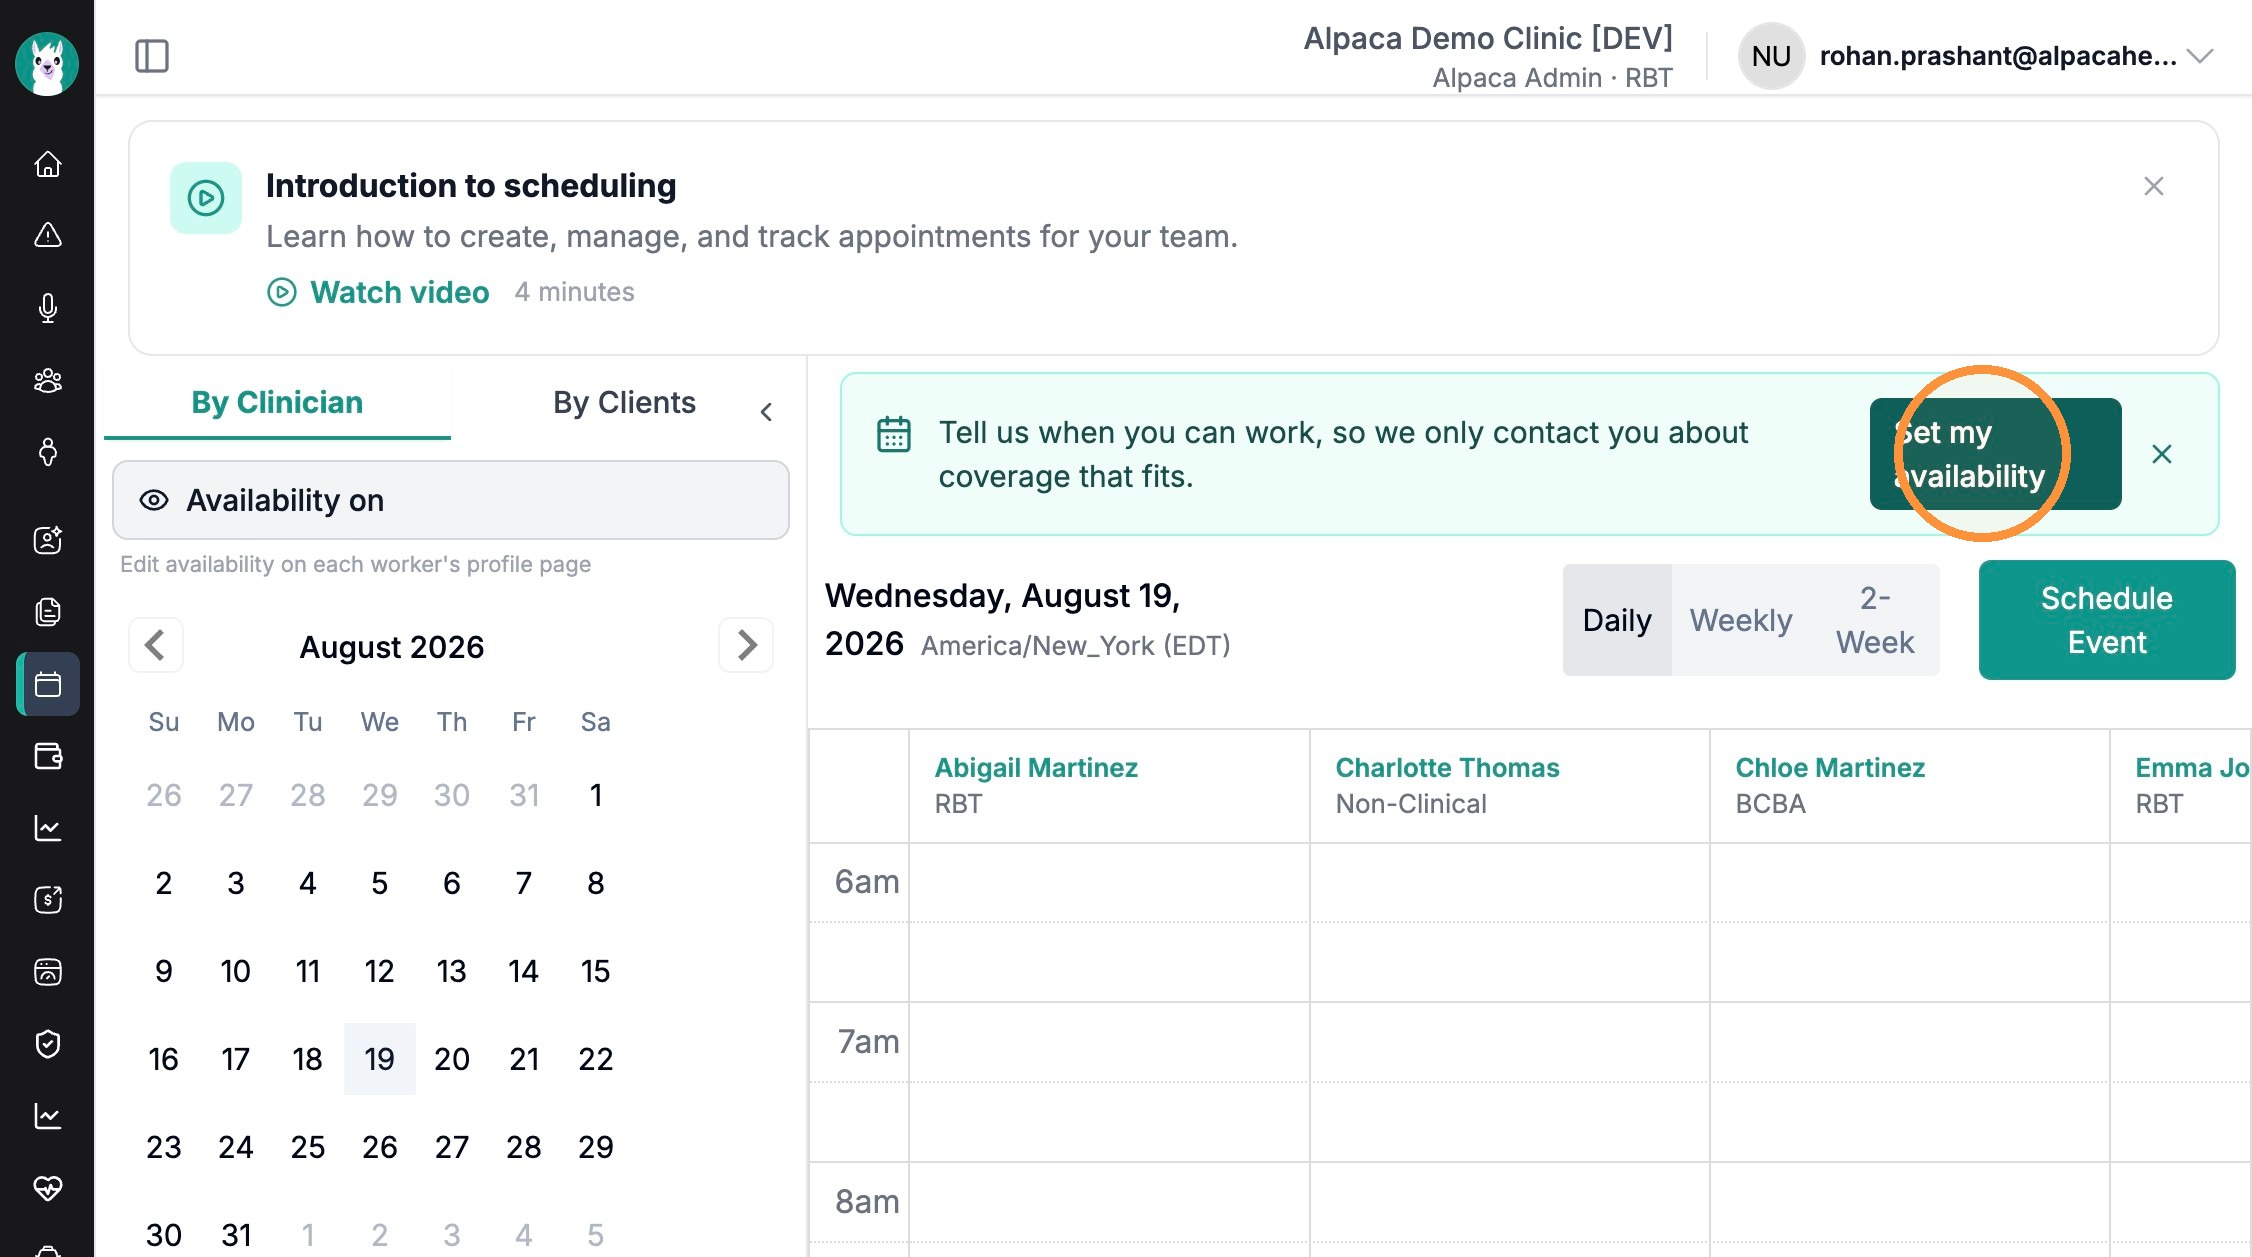
On the Schedule (open it from the left sidebar), the left panel has an Availability control shown as Availability on. When it is on, the calendar shades the hours each clinician is not available, so at a glance you can see when someone can be booked. Availability is set per person on their profile, not on the calendar grid itself, which is why the panel notes "Edit availability on each worker's profile page."
Default is always-available: If a provider or client has no availability set, Alpaca treats them as available at all times and shades nothing on the calendar. Setting availability is what makes the overlay meaningful.

Part 1 - Set your own (provider) availability
Step 1 - Start from the schedule banner. On the Schedule, if you have not set your availability yet, a green banner appears at the top: "Tell us when you can work, so we only contact you about coverage that fits." Click Set my availability on the right of that banner.
Step 2 - Open the availability editor. The banner takes you to your own profile. Stay on the Overview tab and scroll to the Availability card on the right. If nothing is set yet it reads "No availability set" and reminds you that, by default, you are considered available at all times. Click Set Availability.
Another way in: You can reach this editor any time from your profile, even after availability is set. Open your profile, stay on Overview, scroll to the Availability card, and use the pencil (edit) icon.

Step 3 - Choose your available days. The Update Availability panel slides in from the right. You have two choices:
Open Availability: turn this on if you are available at any time. It is the catch-all with no day or time limits.
Specific days: otherwise leave Open Availability off and switch on each day you can work using the toggle on the right.

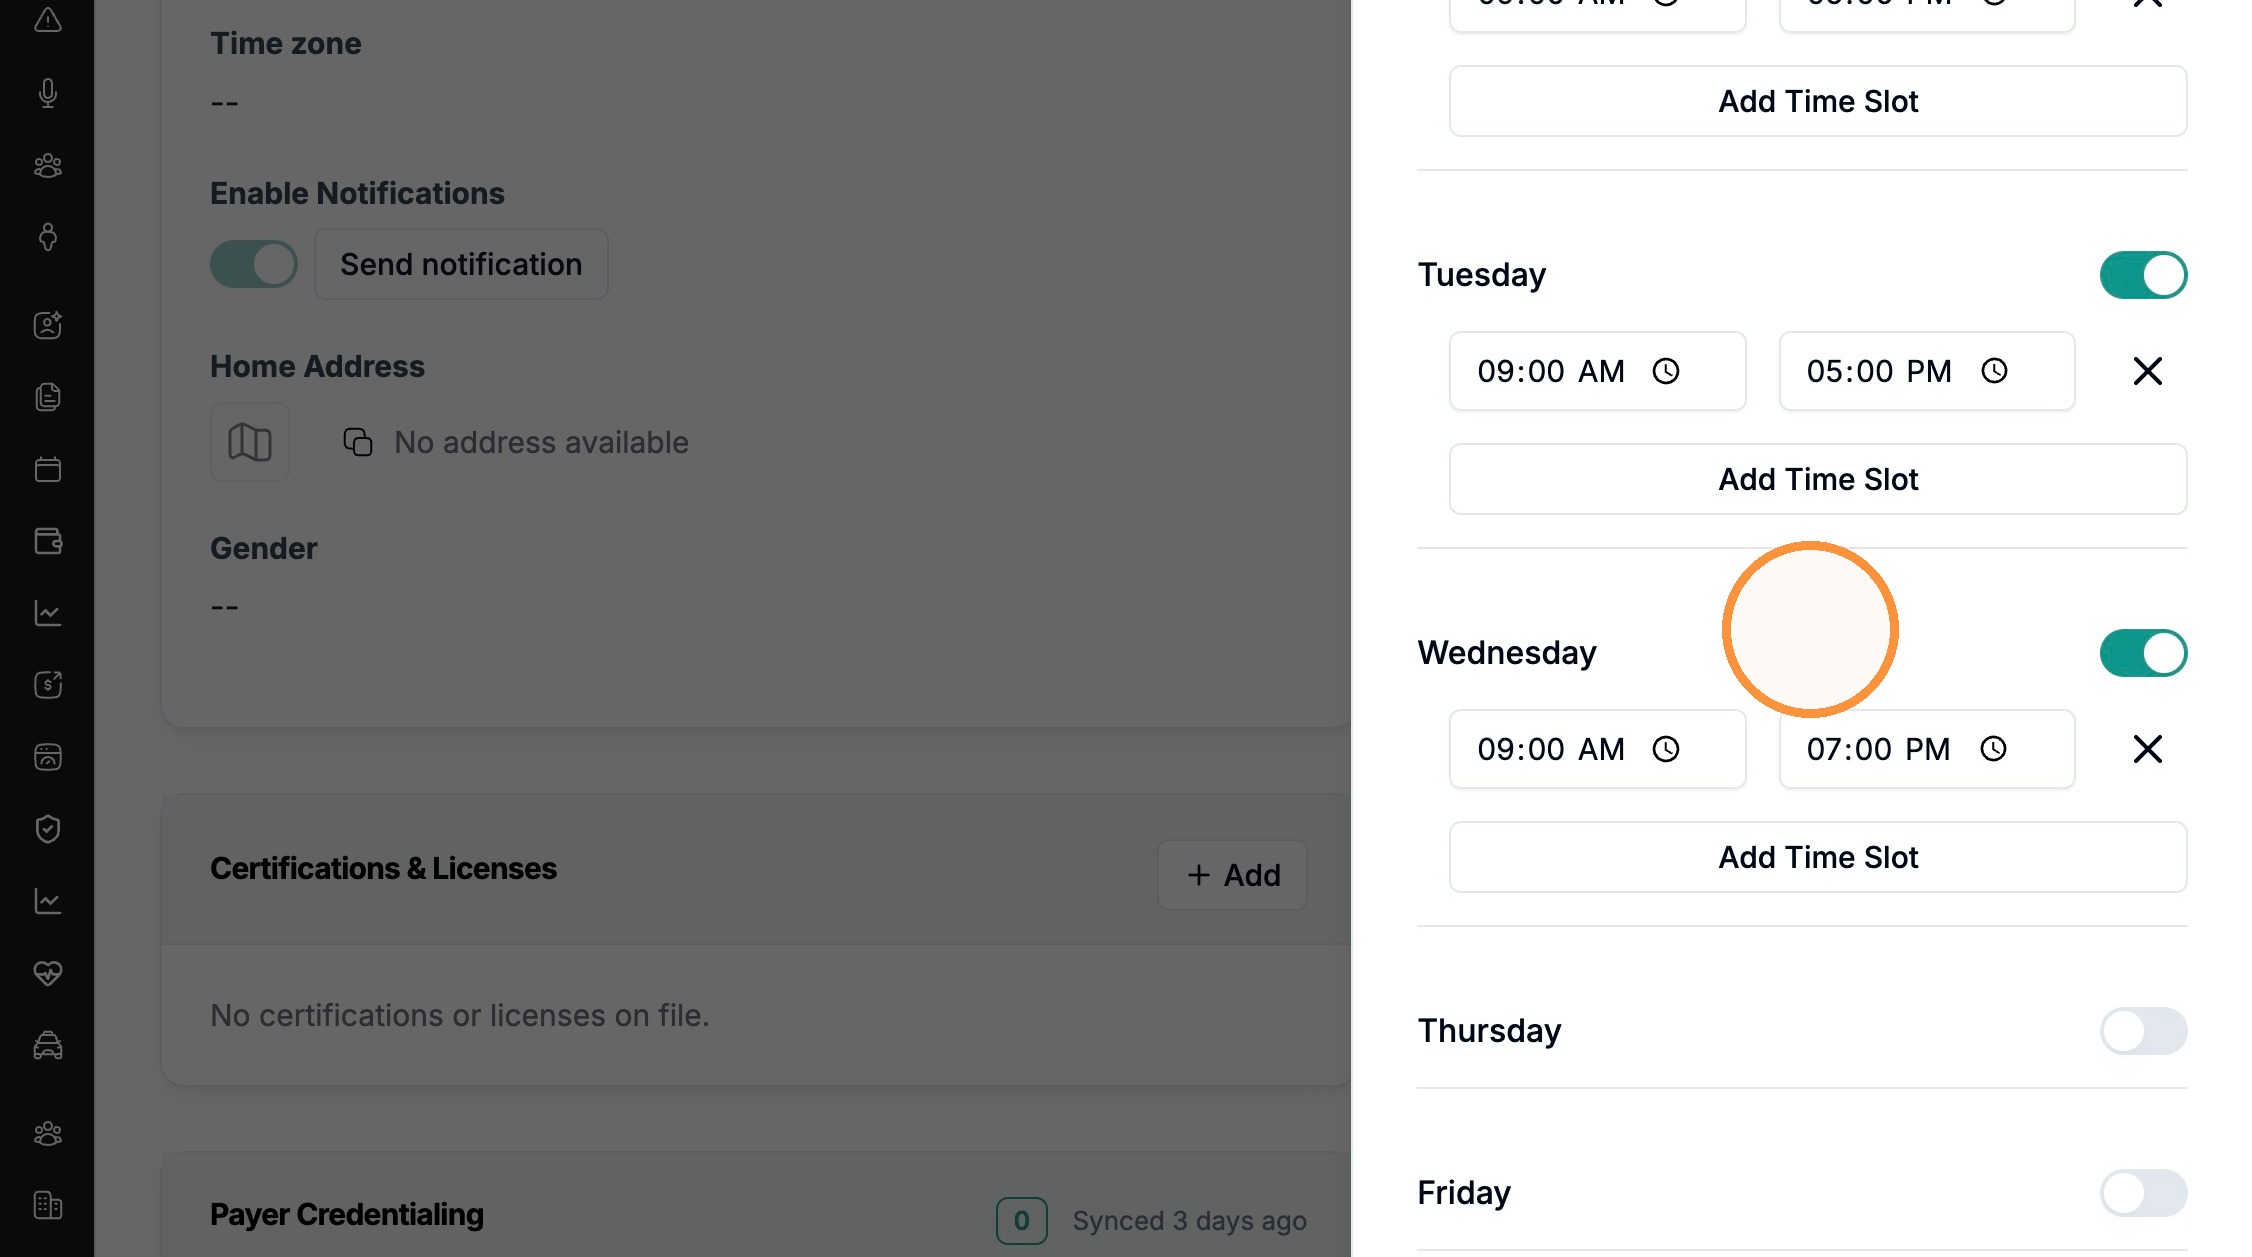
Step 4 - Set the hours for each day. When you turn a day on, a start time and end time appear (defaulting to 09:00 AM to 05:00 PM). Adjust them as needed. To offer more than one block on the same day (for example a morning and an evening), click Add Time Slot and set a second range.

Step 5 - Fine-tune a time. Click into any time field to change it (here Wednesday's end time is set to 07:00 PM). Use the X to the right of a slot to remove that block.
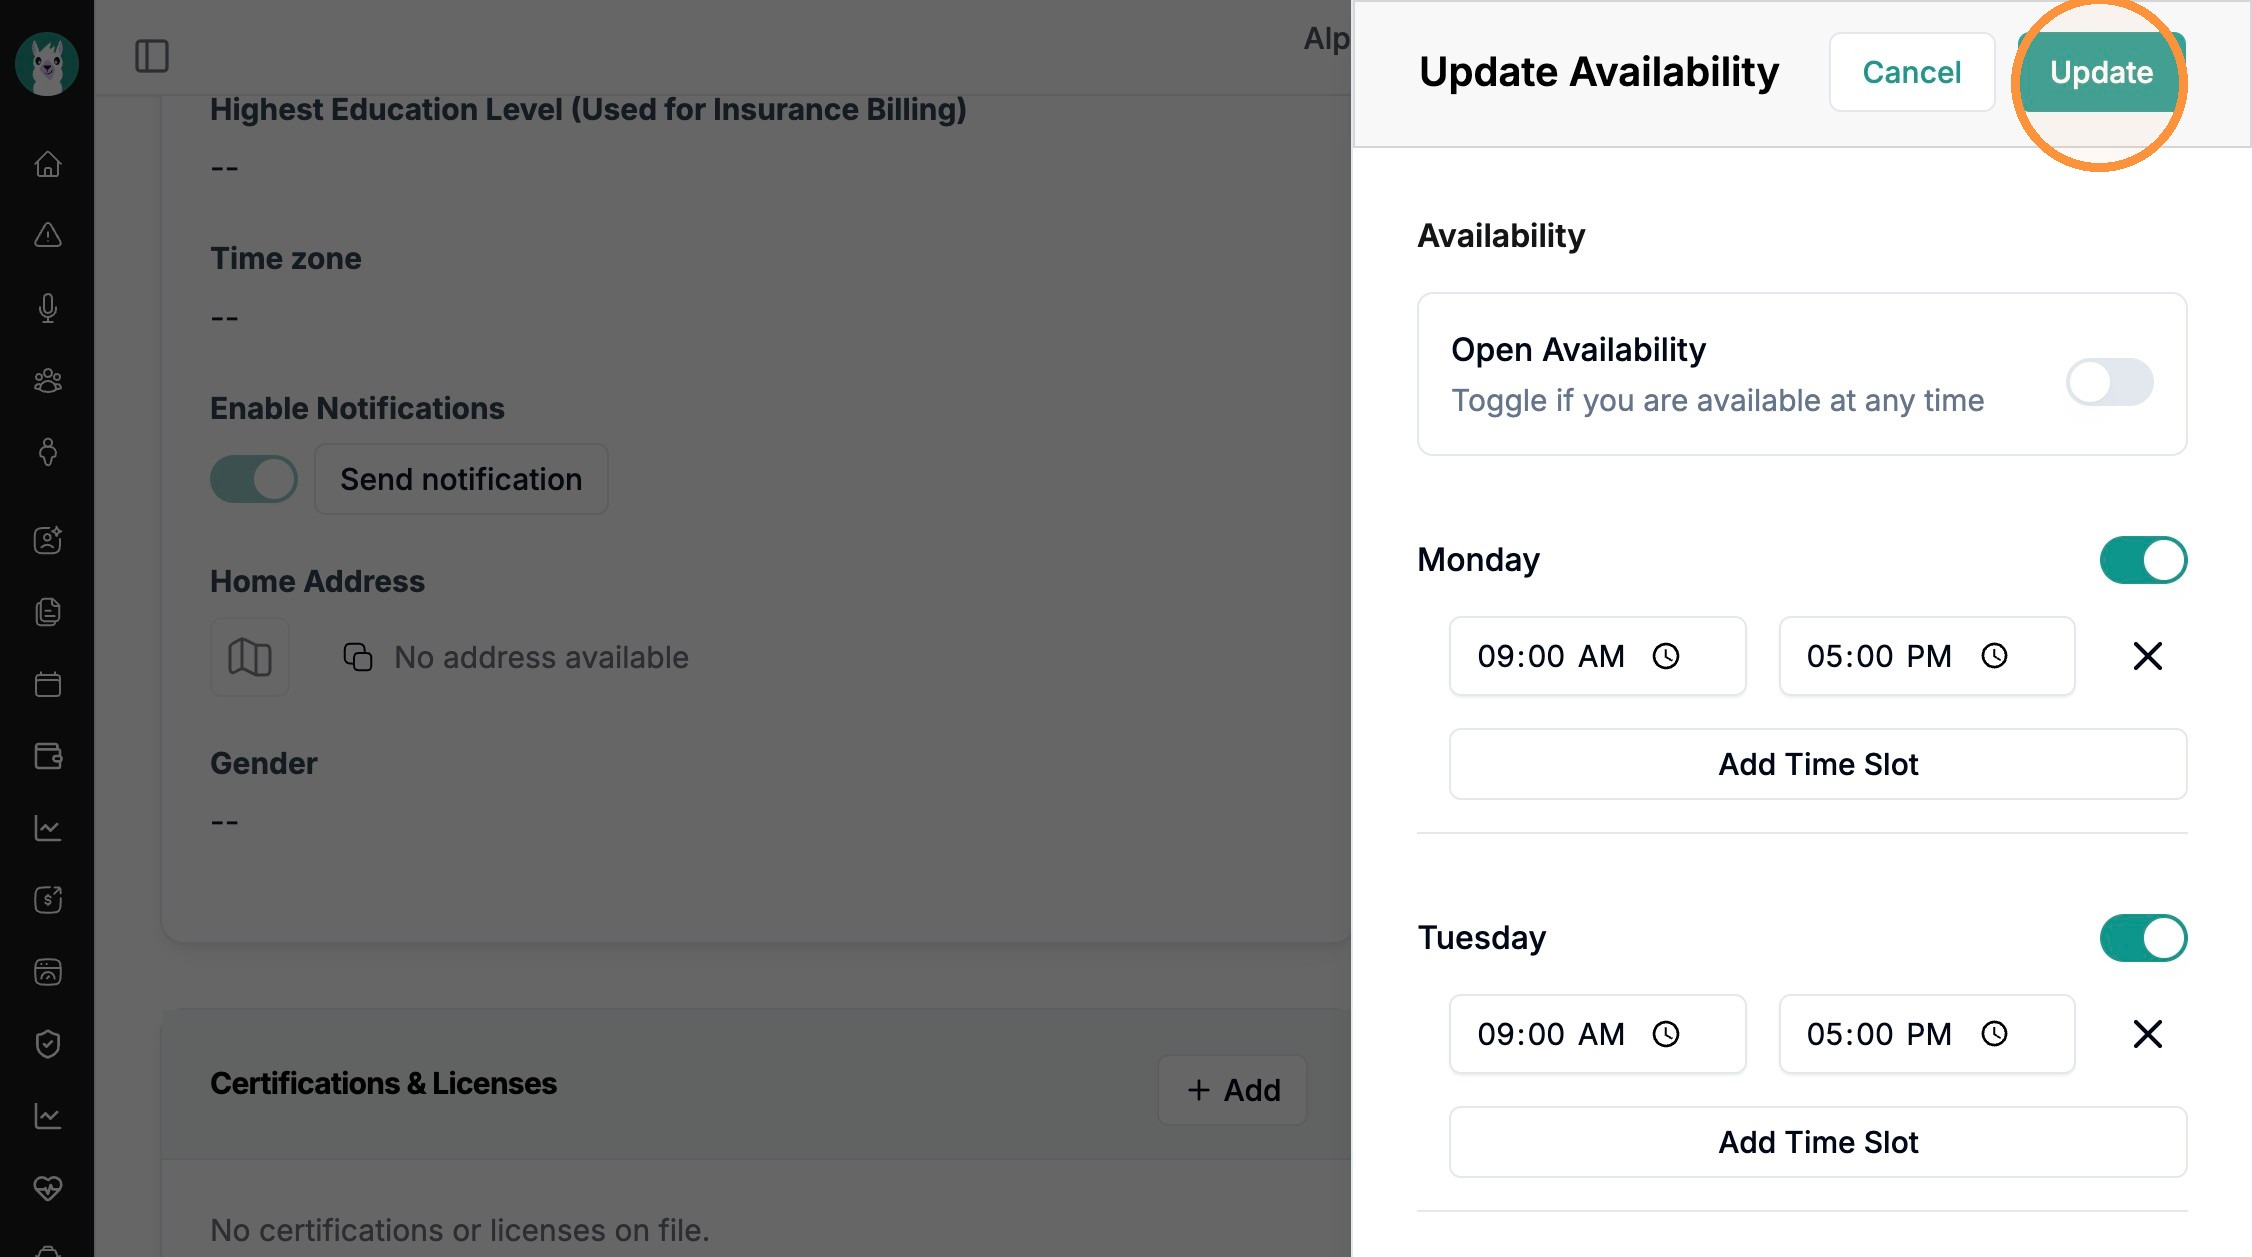
Step 6 - Save. When your week looks right, click Update at the top of the panel. Click Cancel instead to discard your changes.
Part 2 - Set a client's availability
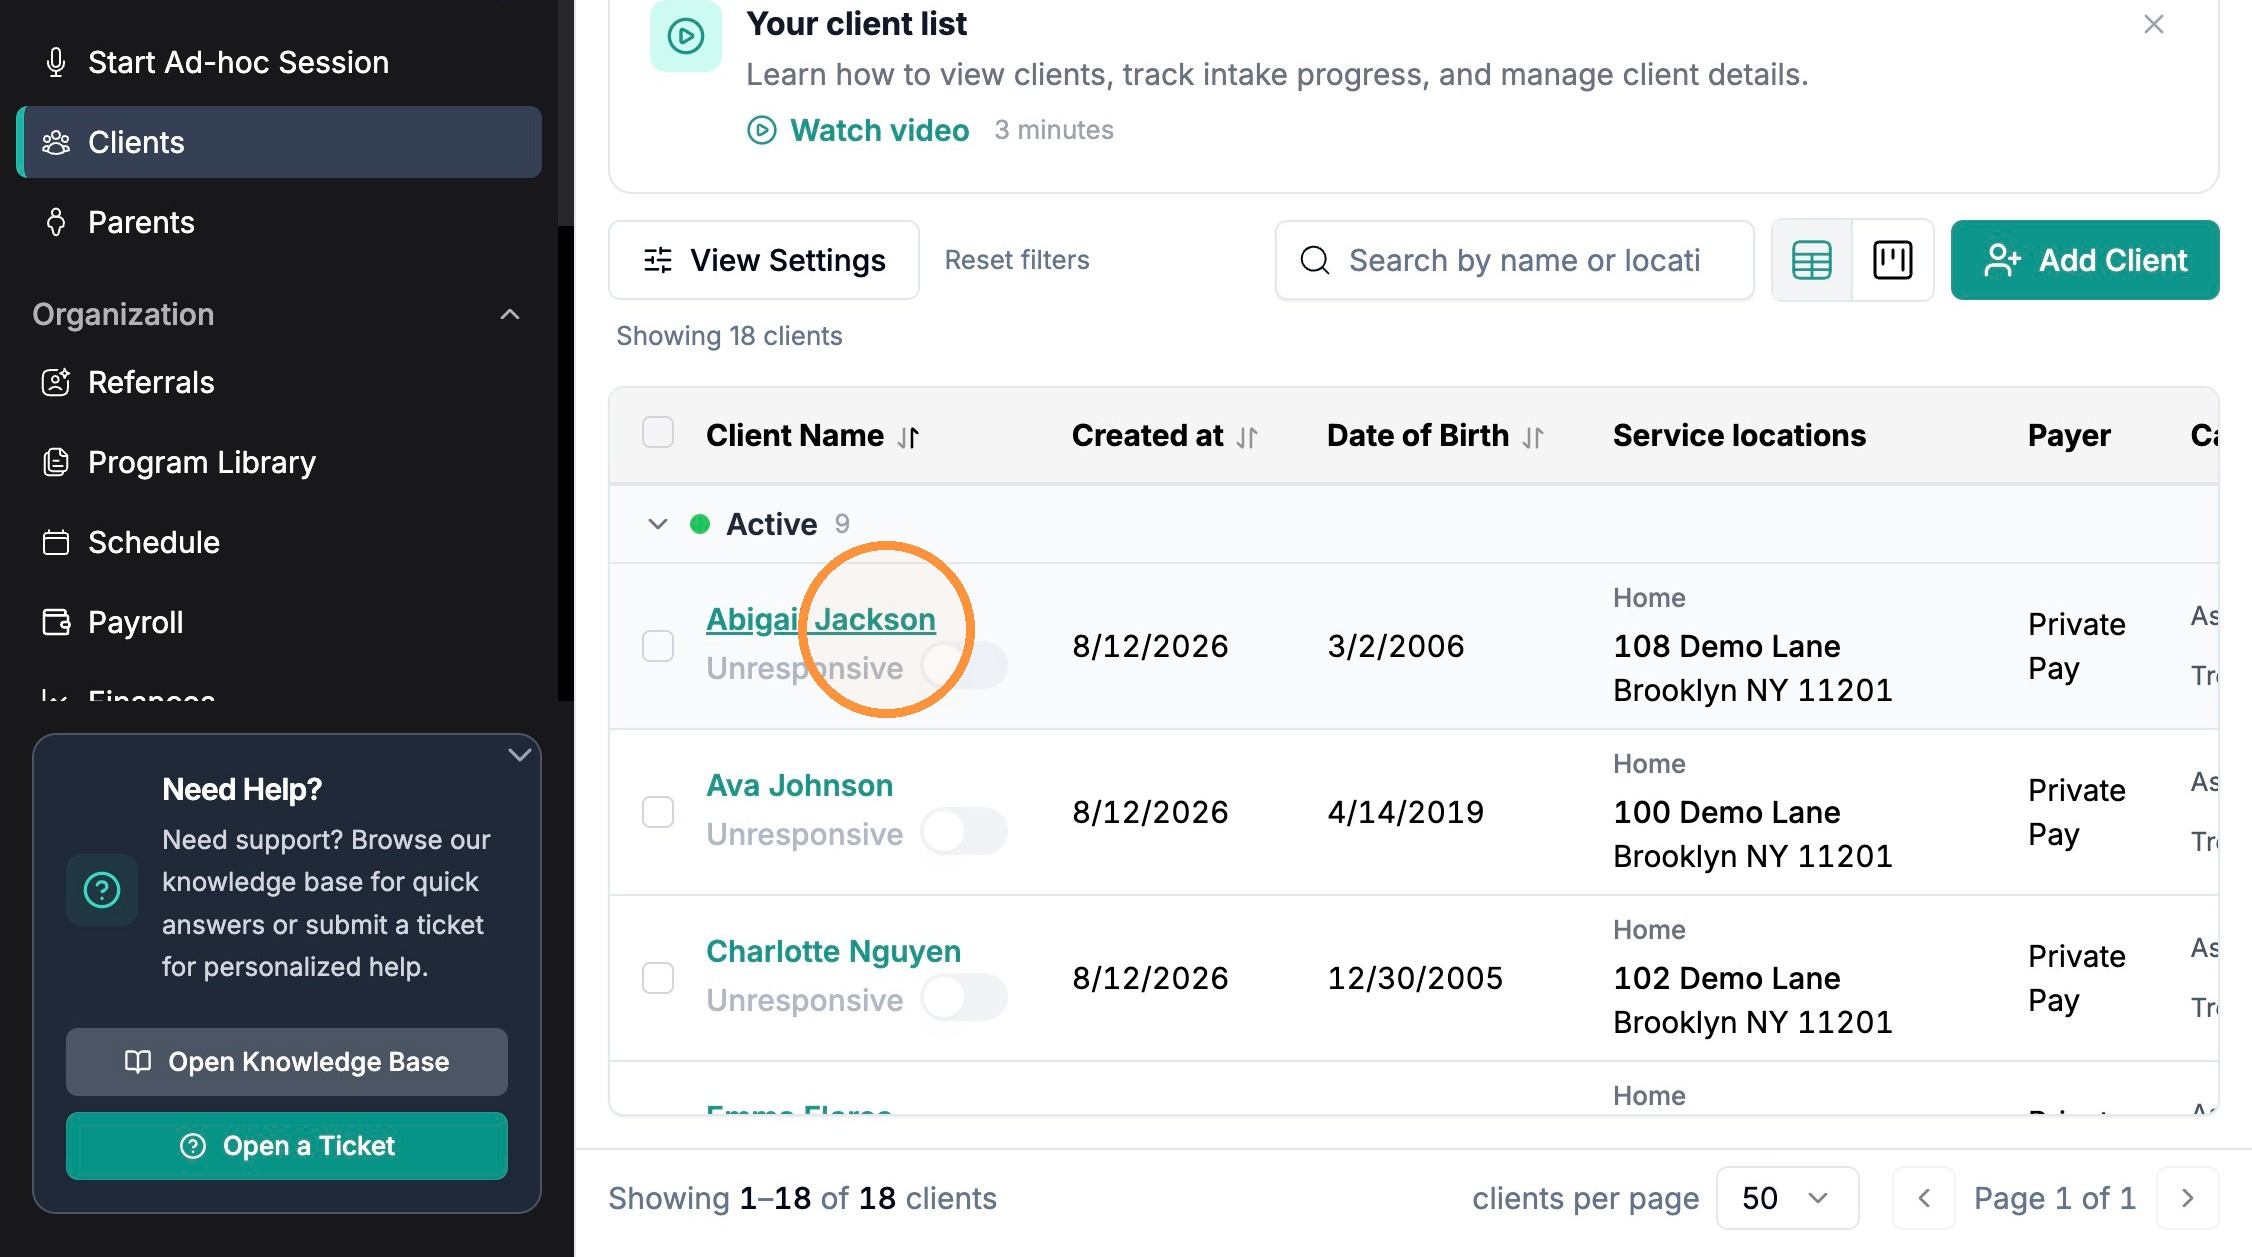
Step 1 - Open the client. In the left sidebar click Clients to open your Client List, then click the client's name to open their profile (here, Abigail Jackson).
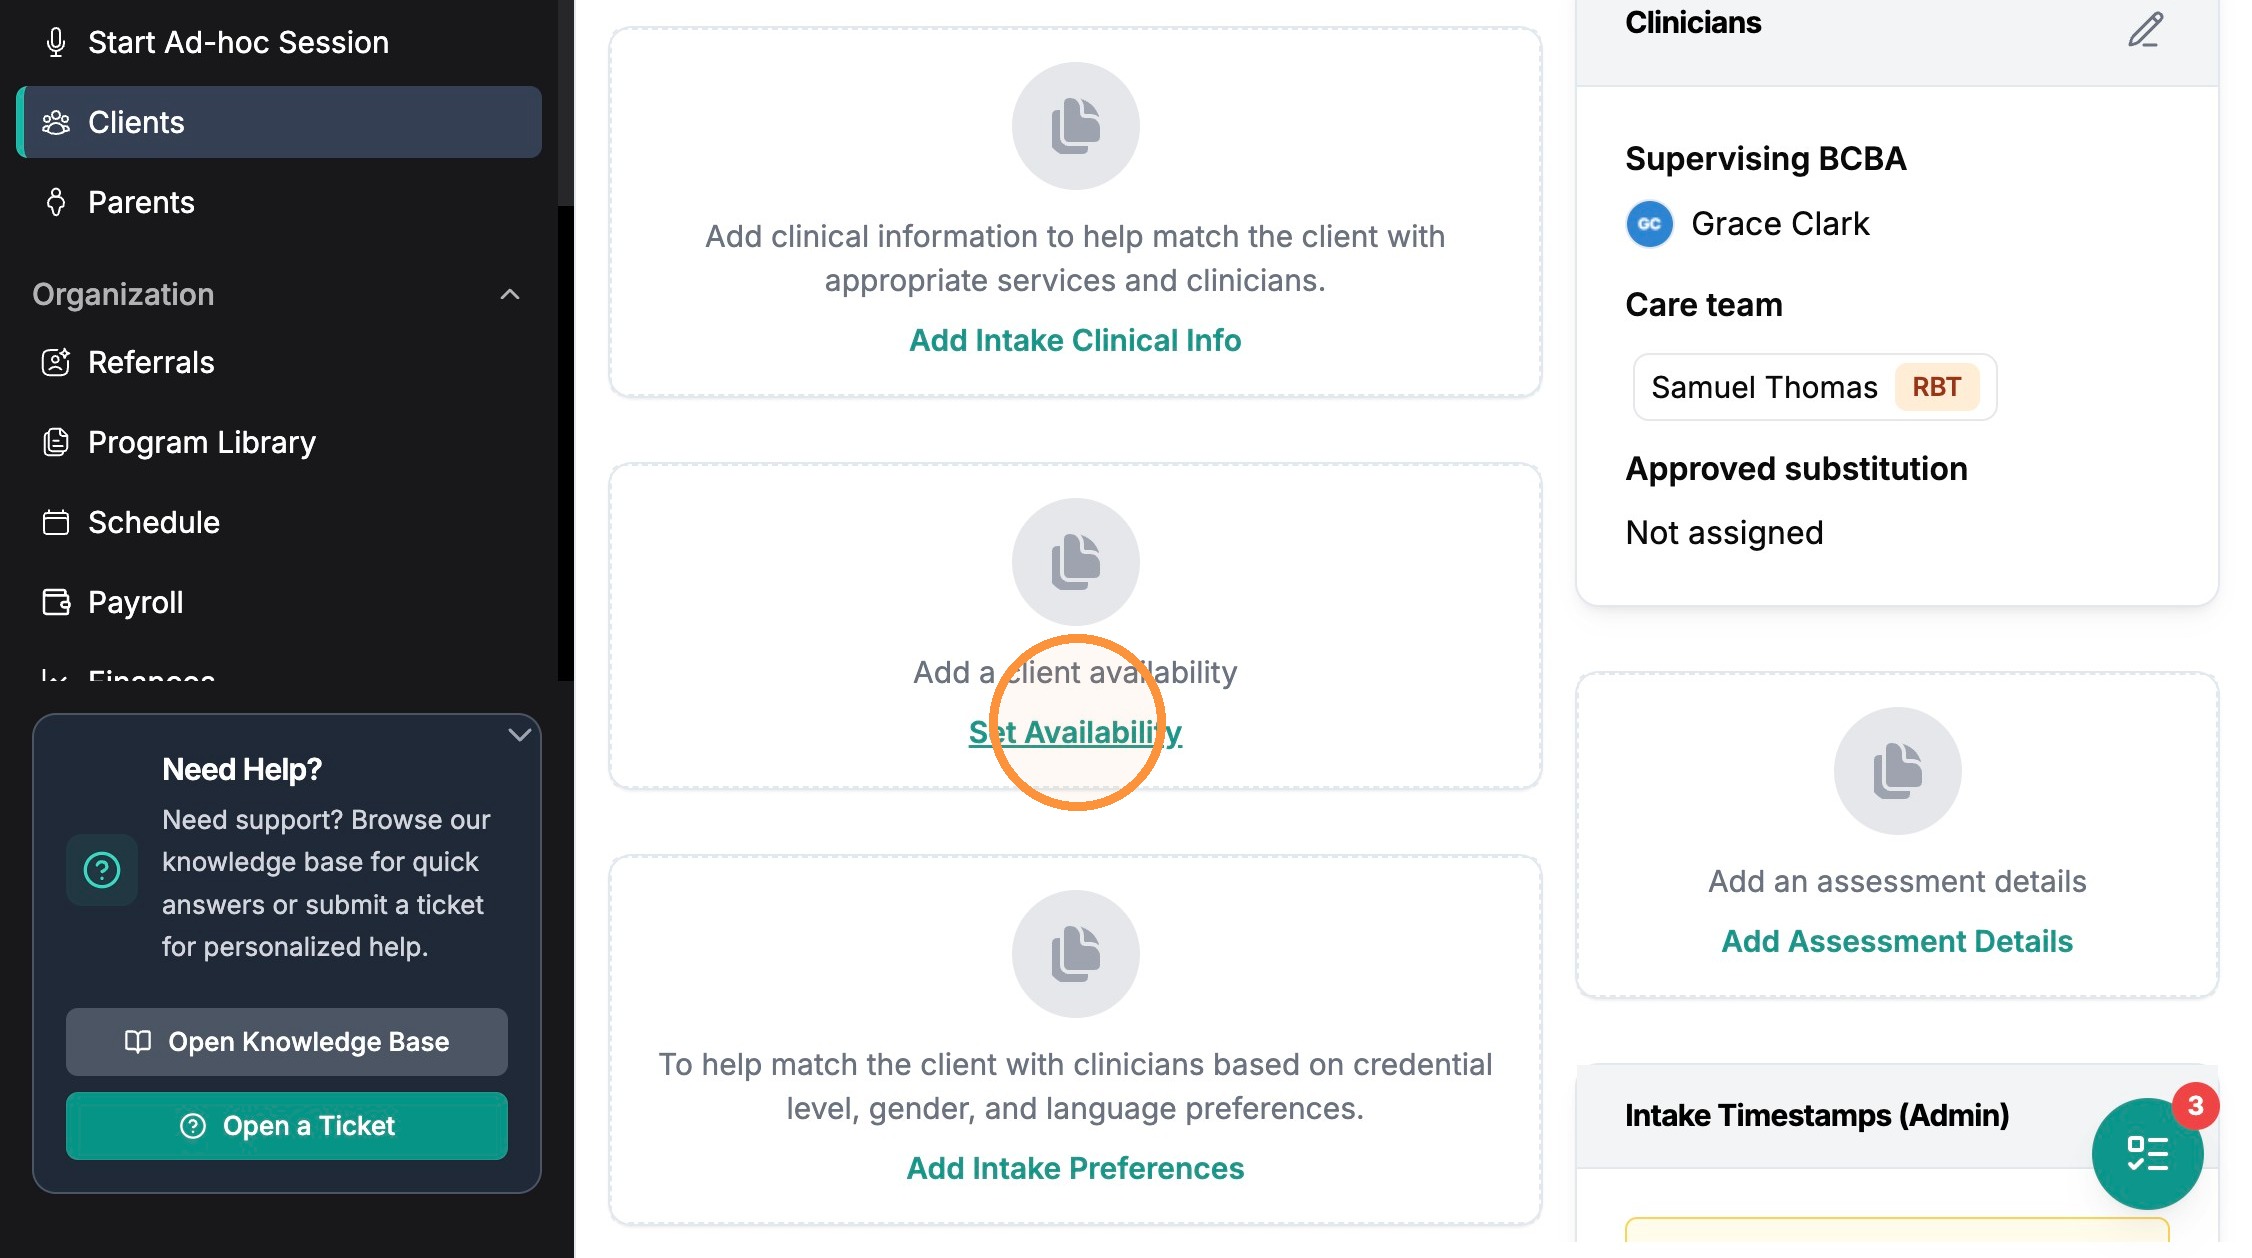
Step 2 - Find the availability card. On the client's Overview page, look for the Add a client availabilitycard and click Set Availability.
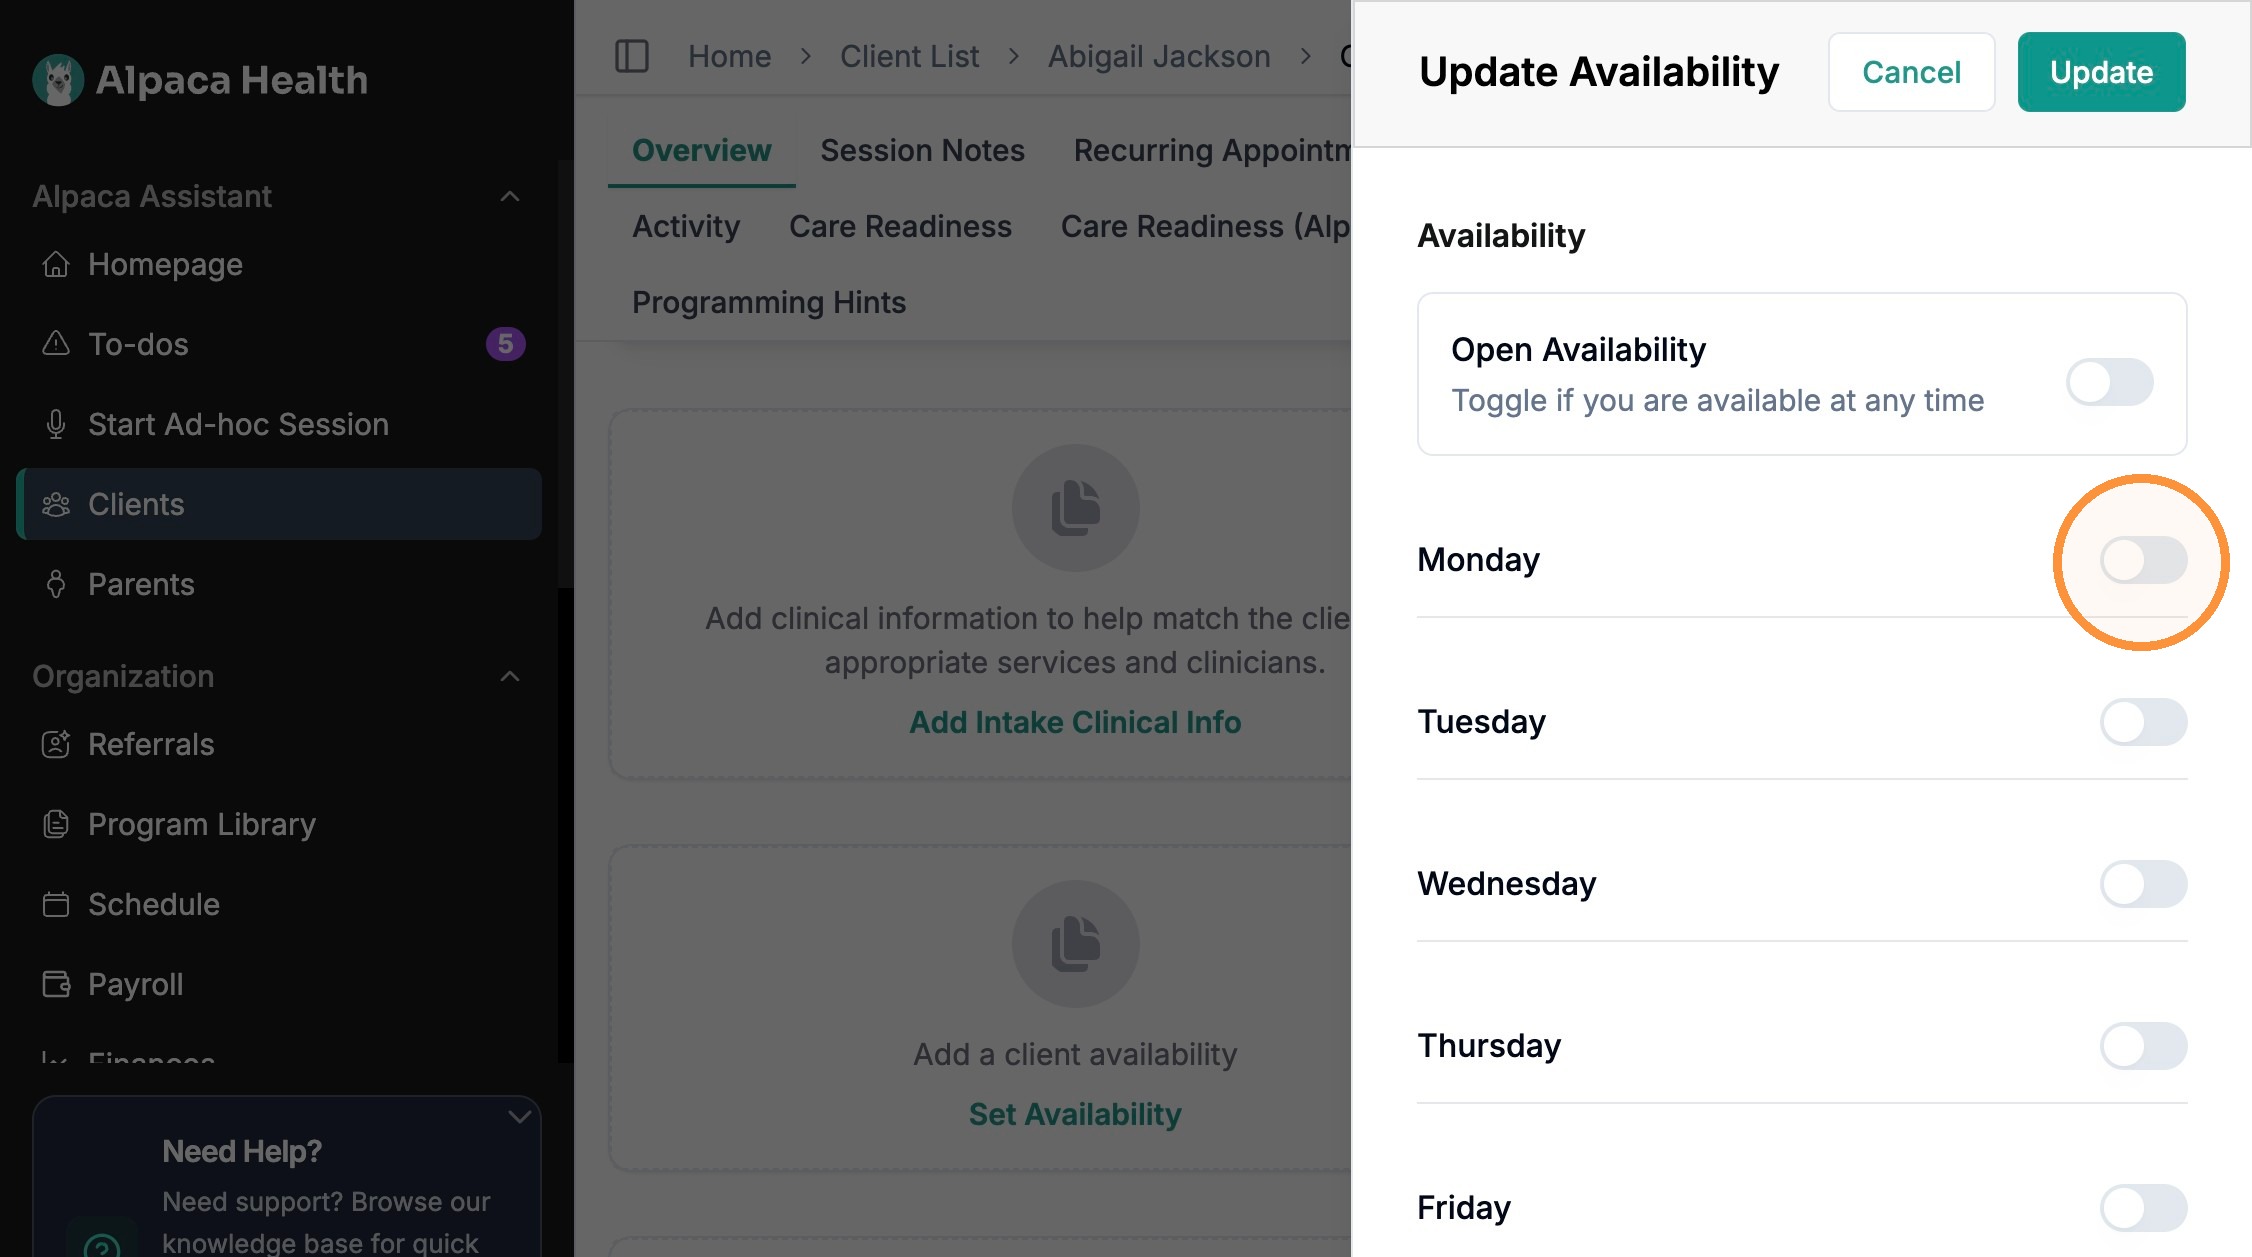
Step 3 - Choose the client's days and times. The same Update Availability panel opens. As before, either turn on Open Availability for no restrictions, or switch on each day the client is available and set the hours.
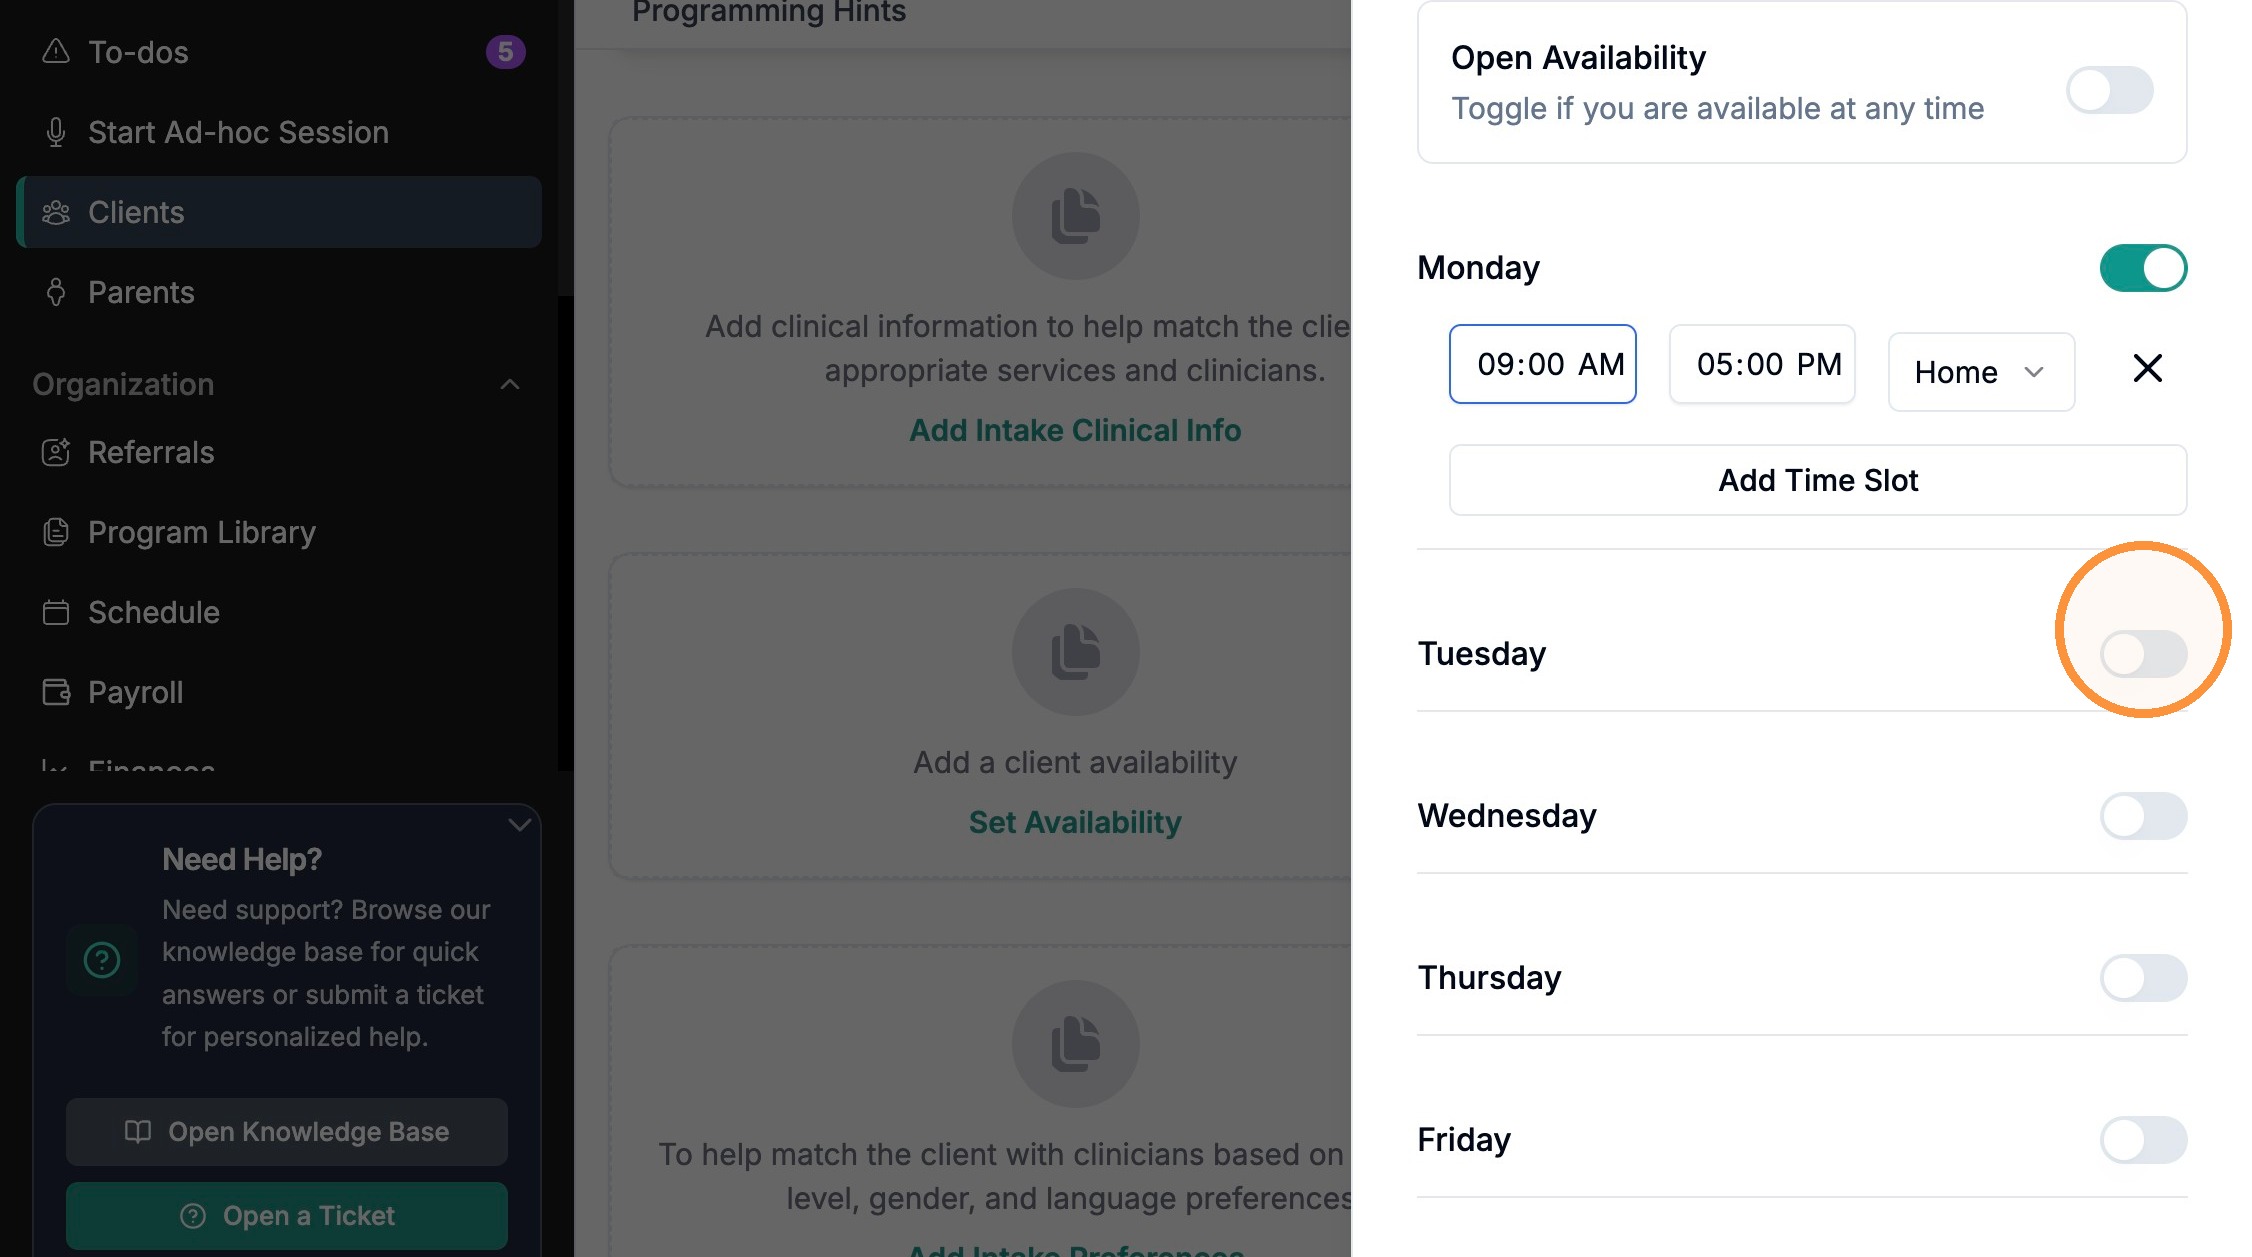
Step 4 - Set a location for each slot. Client time slots have one extra field that provider availability does not: a location dropdown (for example, "Home") next to each time range. Choose where the client is available during that block, and use Add Time Slot for multiple blocks in a day.
The one easy-to-miss difference: A client's time slot includes a location; a provider's slot does not. Set the right location so scheduling matches the client to sessions in the right place.
Step 5 - Save. Click Update at the top of the panel to save the client's availability.

With both provider and client availability set, turn on the Availability toggle on the Schedule to see unavailable hours shaded on the calendar. From then on, schedulers are only offered times that work for everyone.