6.3 Run a session & review the AI note
Last updated: July 21, 2026
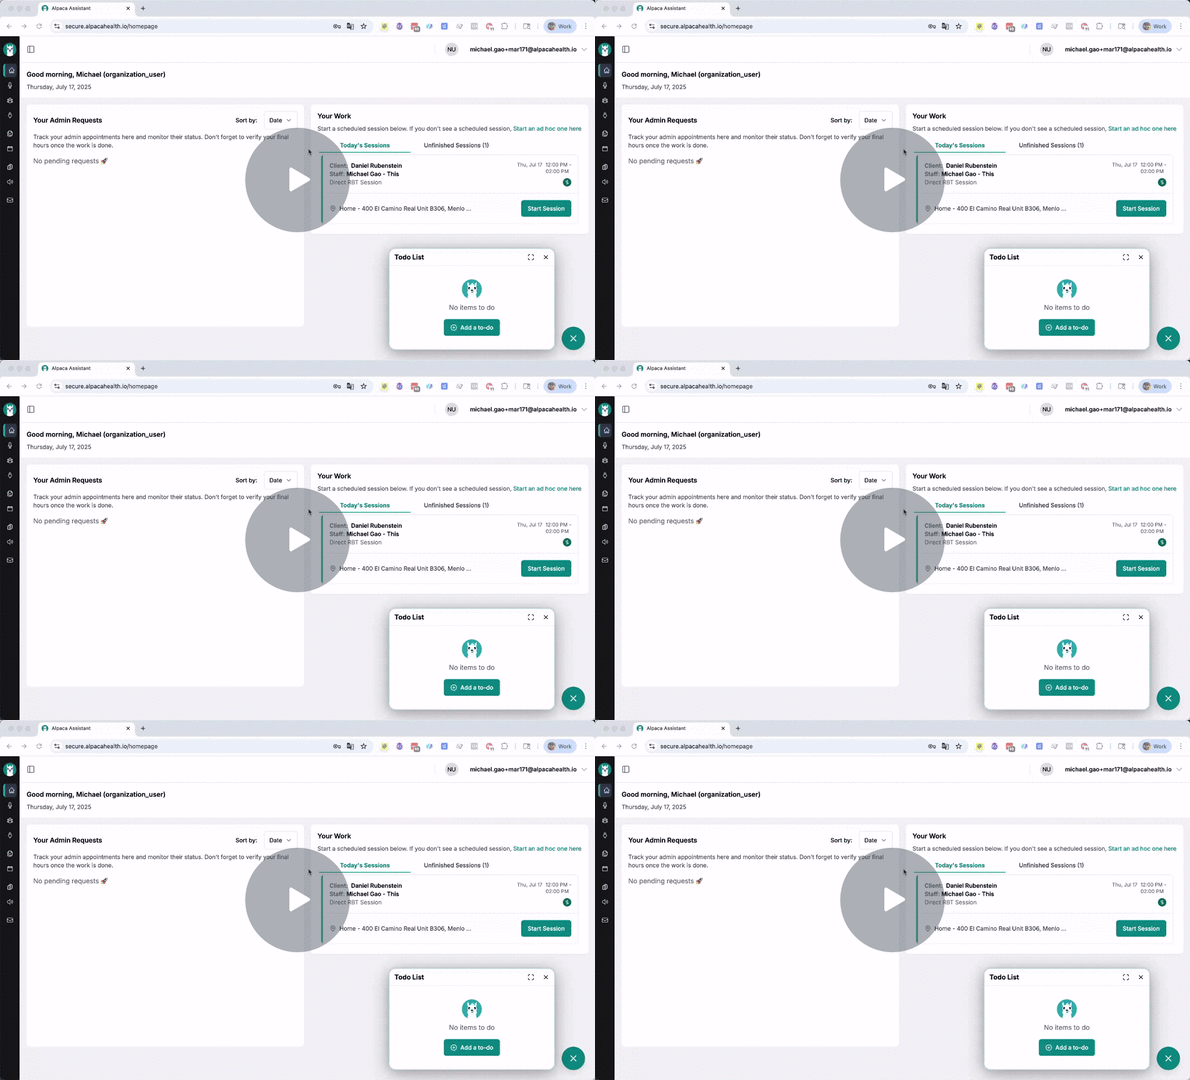
How to Run a BT Data Collection Session on Alpaca Health 🦙 - Watch Video
Overview
This guide is meant for BTs navigating Alpaca Health's data collection system for the first time. It will cover how you can see your schedule, start sessions, collect data, and sign session notes.
Helpful Hints
The second you get to a patient's house, start the session. For many payers, this is necessary for compliant billing, so that payers can be notified when sessions have begun.
Review and sign your note in the last 5 minutes of a session. Alpaca AI is generating your notes, so the process should be very fast.
Collect as much data as possible. Write as many notes as possible. The more information you collect, the more your BCBA supervisor can review to improve programming.
Standard Operating Procedure for Starting a Session on Alpaca Health
Key Steps
1. Log In and Access Scheduled Sessions 0:00
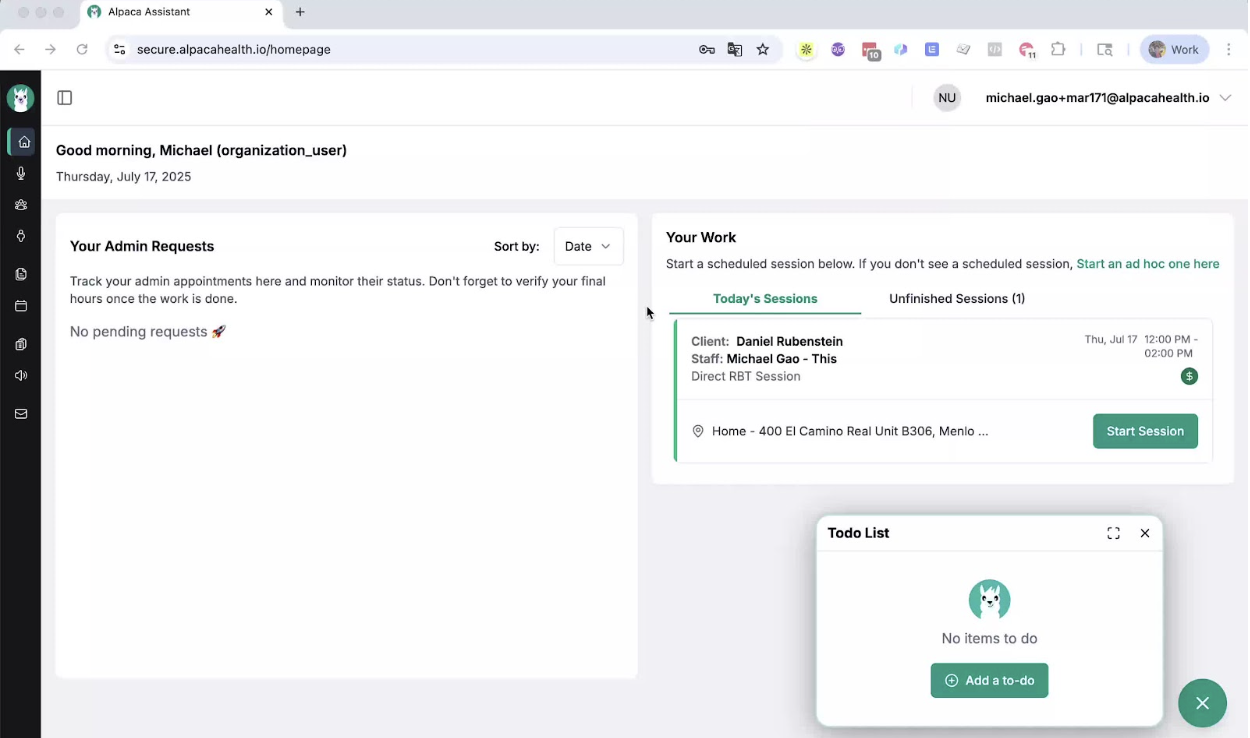
Log in to your Alpaca Health account.
On the homepage, locate the right-hand side where your work is displayed.
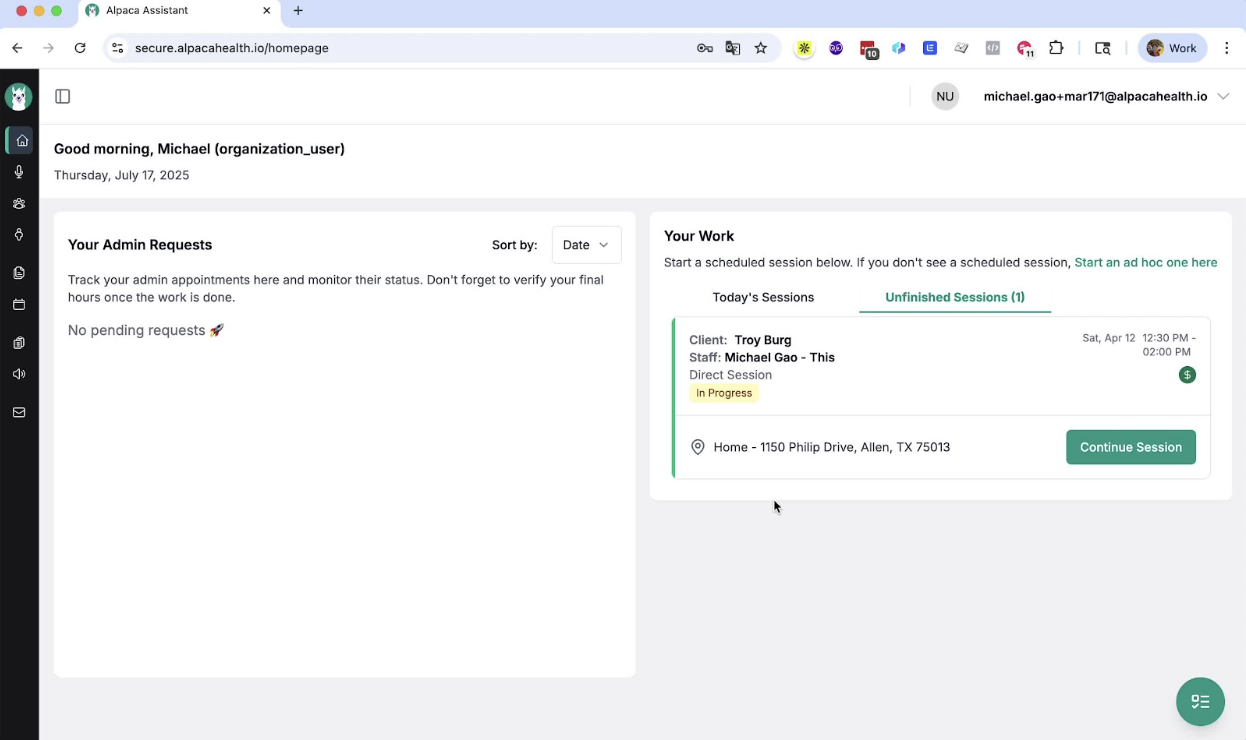
Review the sessions scheduled for today and any unsigned session notes that need completion.
2. Start a Scheduled Session 0:20
Click on 'Start Session' for the scheduled session.
3. Collect Data During the Session 0:35
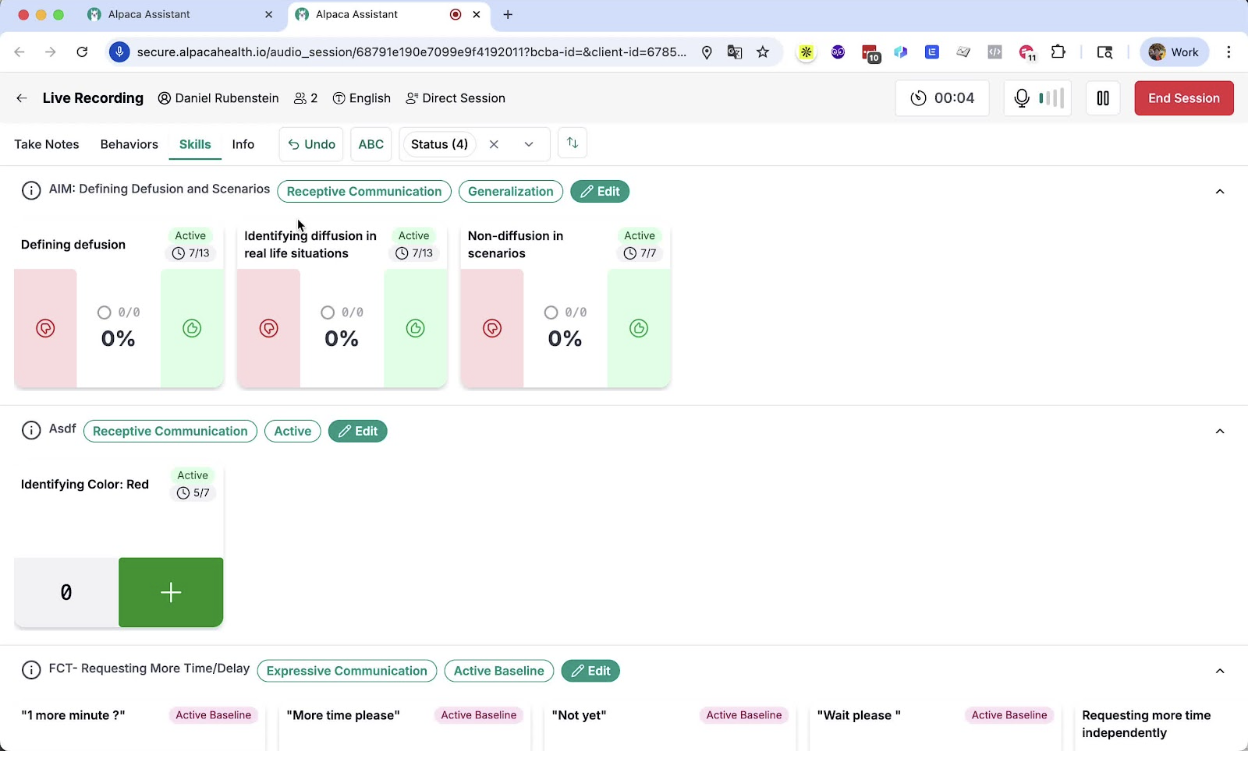
Collect various types of data:
Skills data
Behavior data
ABC data
Understand that each program is represented as a row, and each target within the row is a widget.
4. Take Within Session Notes 0:54
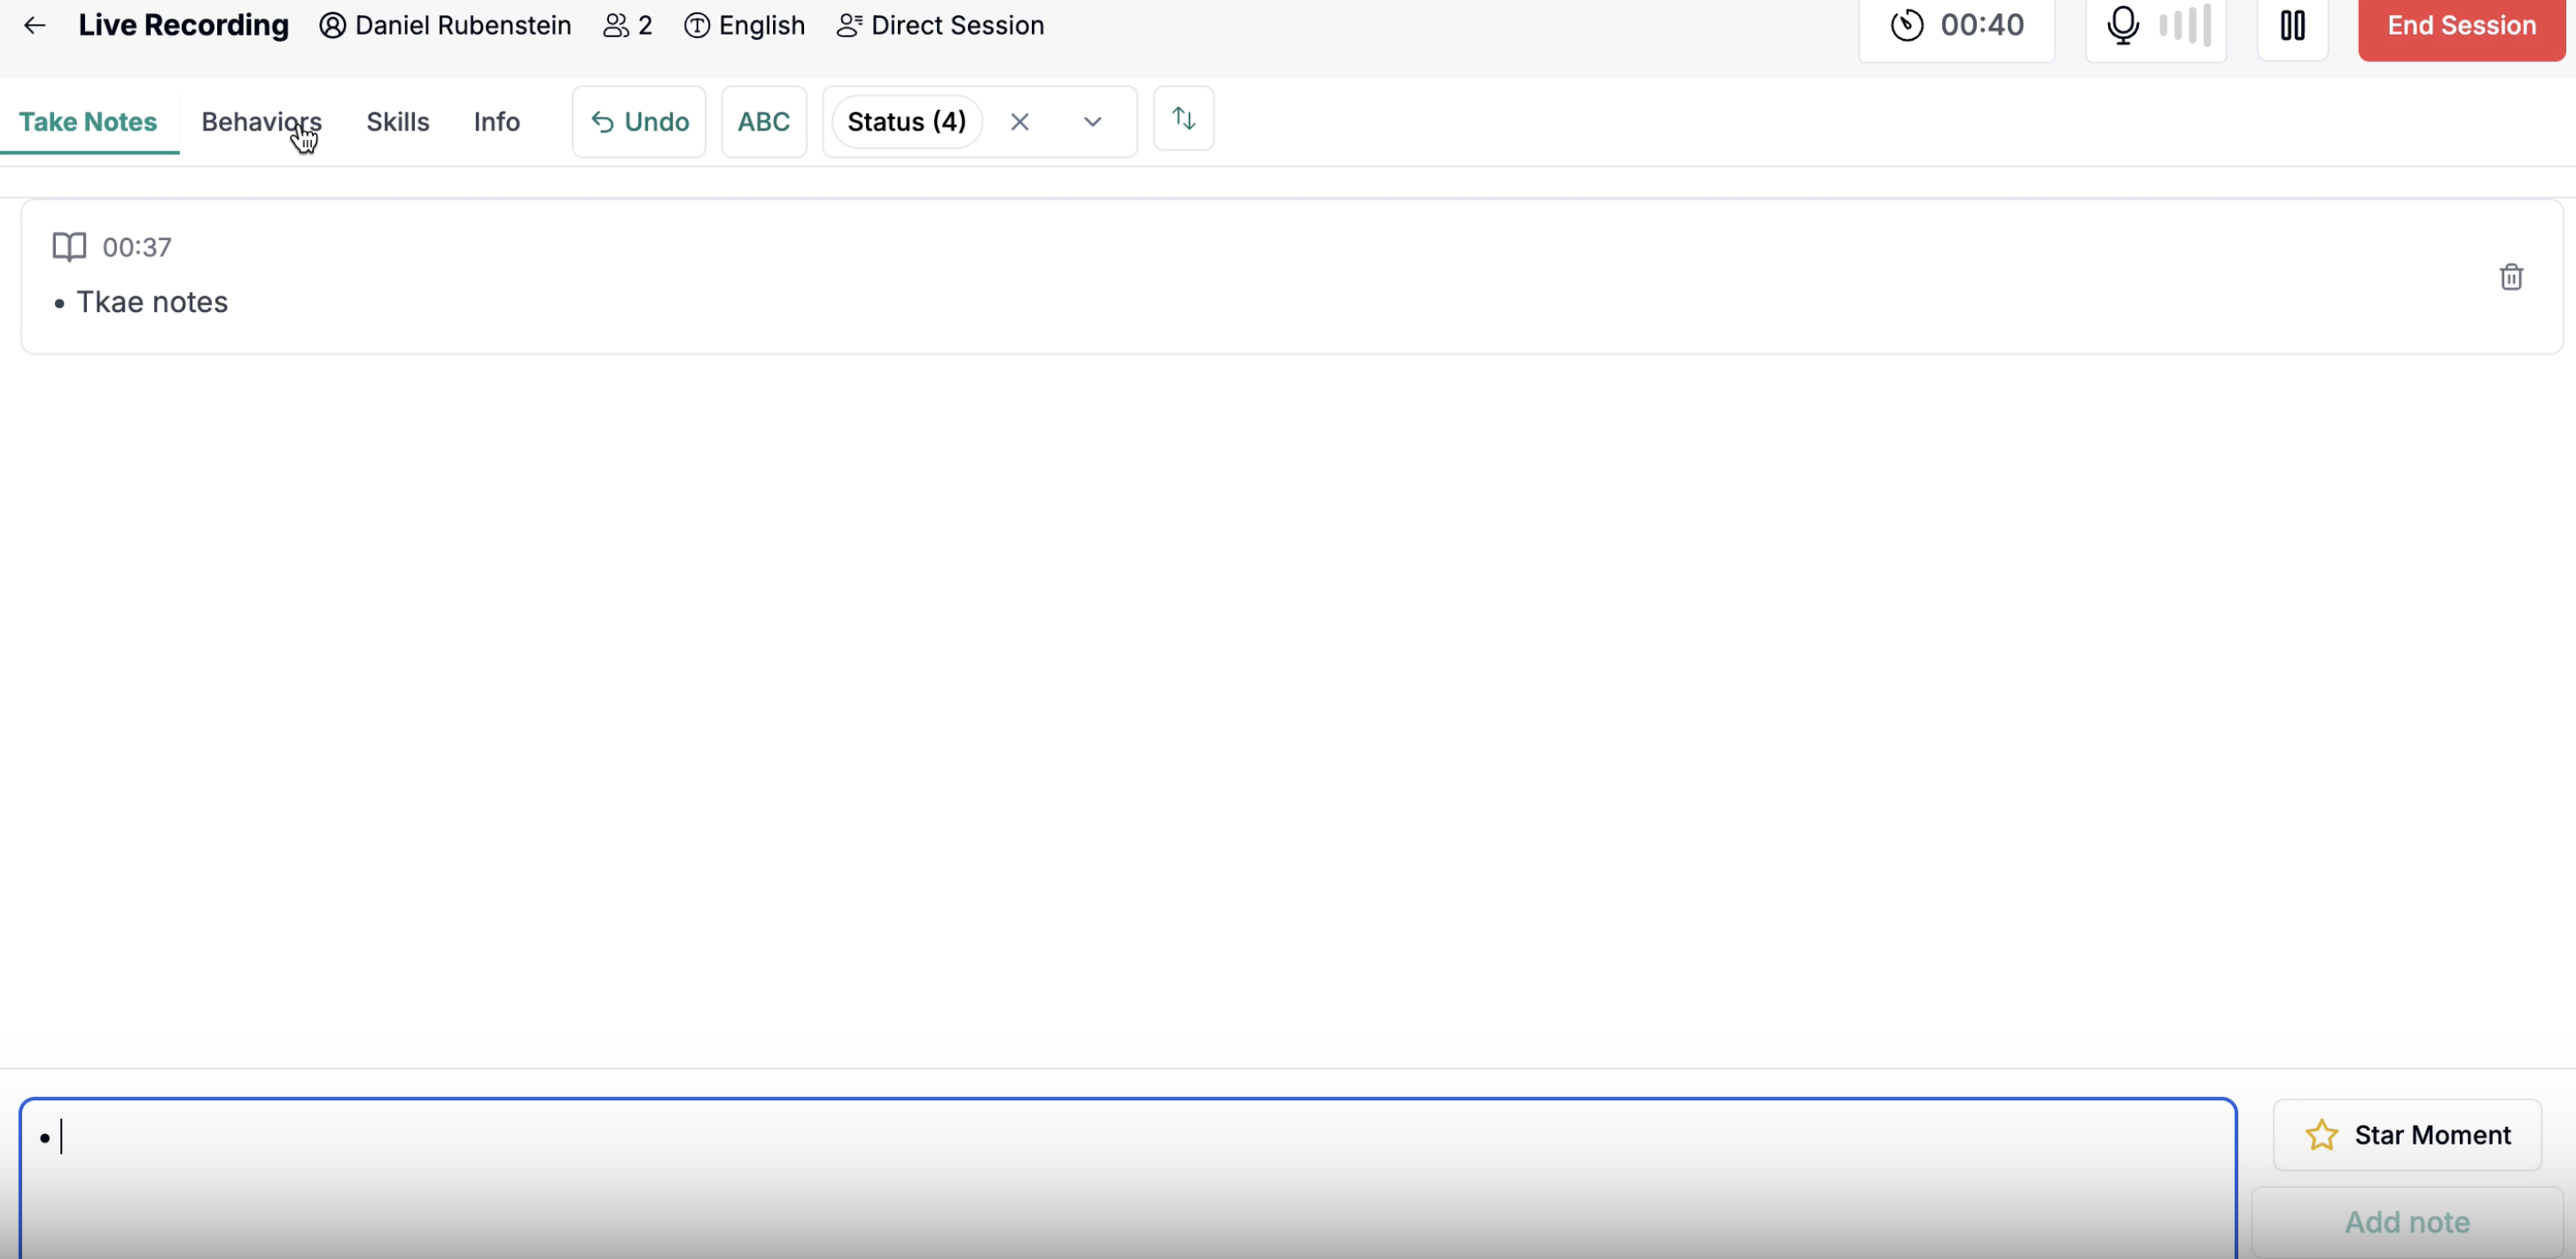
Add notes to the widgets during the session.
View previously written notes for context.
5. Edit Data if Necessary 1:20
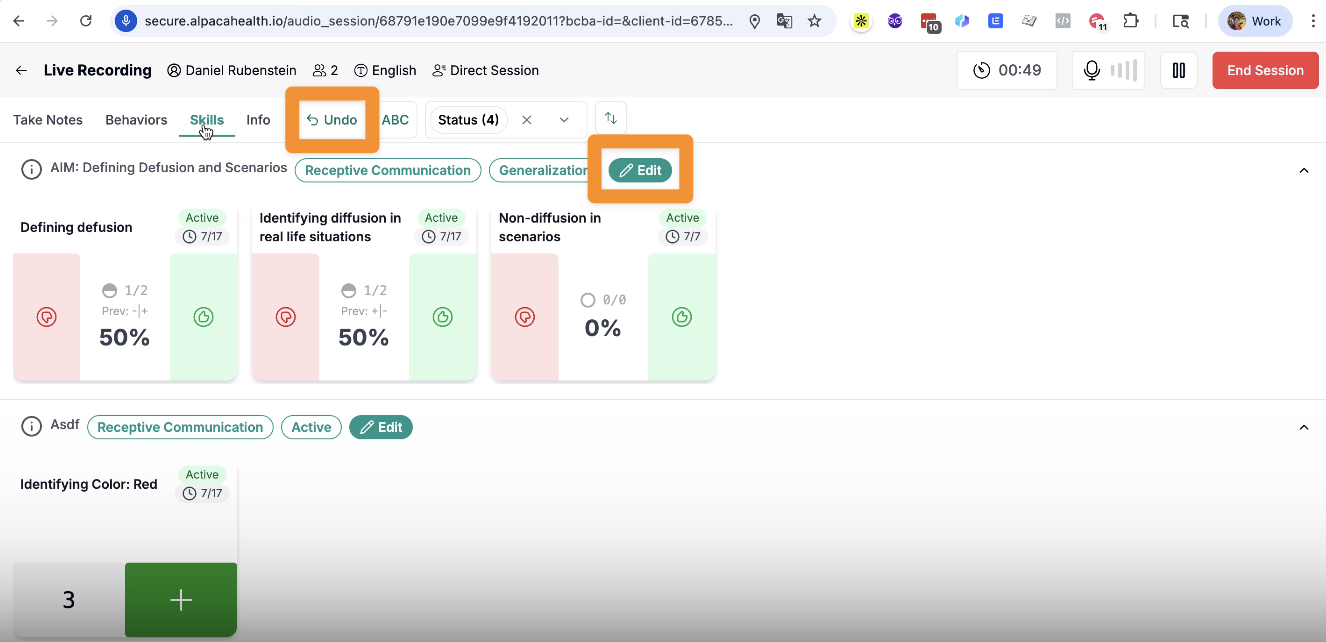
If mistakes are made, you can:
Undo changes
Click 'Edit' to modify data
Change outcomes of trials or delete trials by double-clicking.
6. Access Client Information 1:34
Use the 'Info' tab to access the client cheat sheet provided by your BCBA for a refresher.
7. End the Session and Generate Notes 1:53
Click 'End Session' to allow AI to generate a session note based on collected data, timeline, and notes.
8. Review and Edit the Generated Note 2:19
Review the AI-generated note for accuracy.
Edit the note to add details or remove irrelevant information.
Use the 'Redo Analysis' button for additional changes.
9. Sign Off on the Session Note 2:33
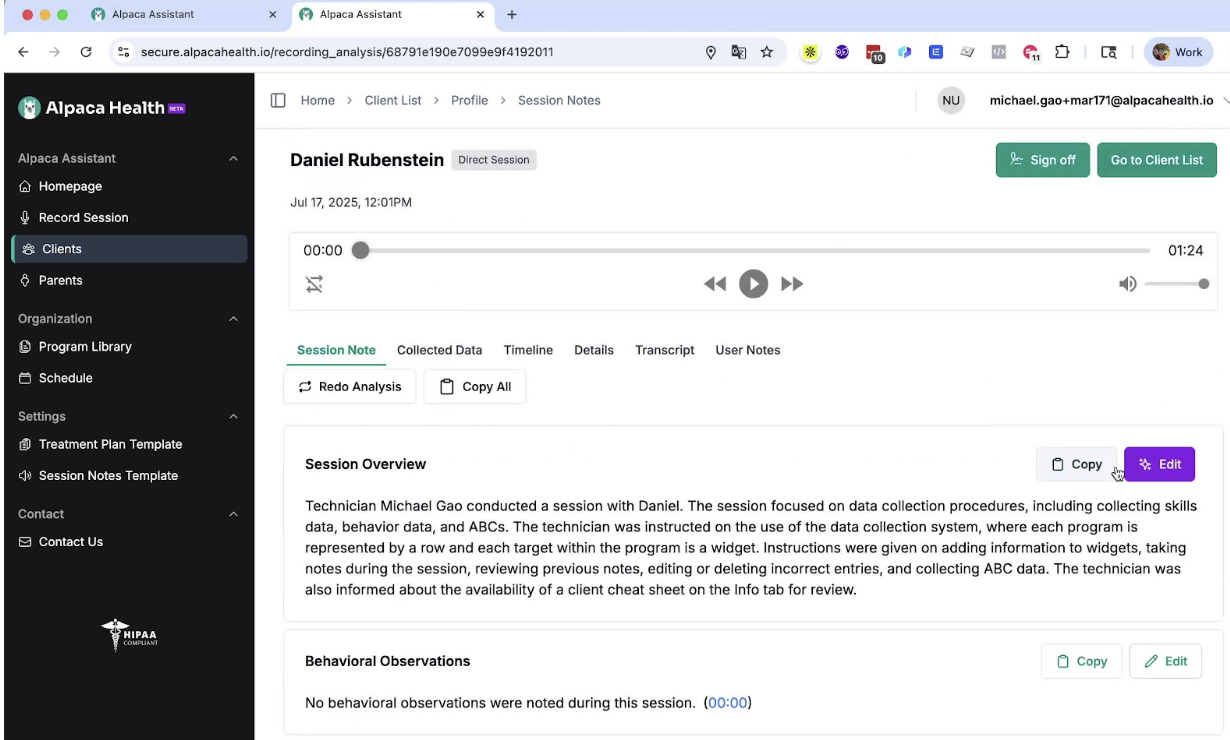
Once the note is finalized, click 'Sign Off'.
Select participants in the session, verify the time, and make any necessary edits.
10. Obtain Parent Signature and Finalize 2:51
Get the parent to sign the session note.
Click 'Finalize and Sign Session Note'.
Review the information, check the checkbox, and click 'Confirm and Sign'.
11. Ensure Timely Signing of Notes 3:03
It is critical to sign session notes on the same day to ensure accurate payment.
12. Review Unsigned Session Notes 3:16
On your homepage, check the list of session notes that need signatures.
Click 'Review and Sign' to complete the signing process.
13. Start an Ad-Hoc Session if Necessary 3:42
If a session is not scheduled, you can start an ad-hoc session.
Click 'Start Recording' to begin the session.
Cautionary Notes
Ensure that session notes are signed on the same day to avoid payment issues.
Always double-check the accuracy of data collected during the session.
Tips for Efficiency
End sessions 15 minutes early to allow time for note editing and signing.
Regularly check for scheduled sessions to avoid starting ad-hoc sessions.